Showing posts with label [At Your Own Risk]. Show all posts

Saturday, 1 June 2013

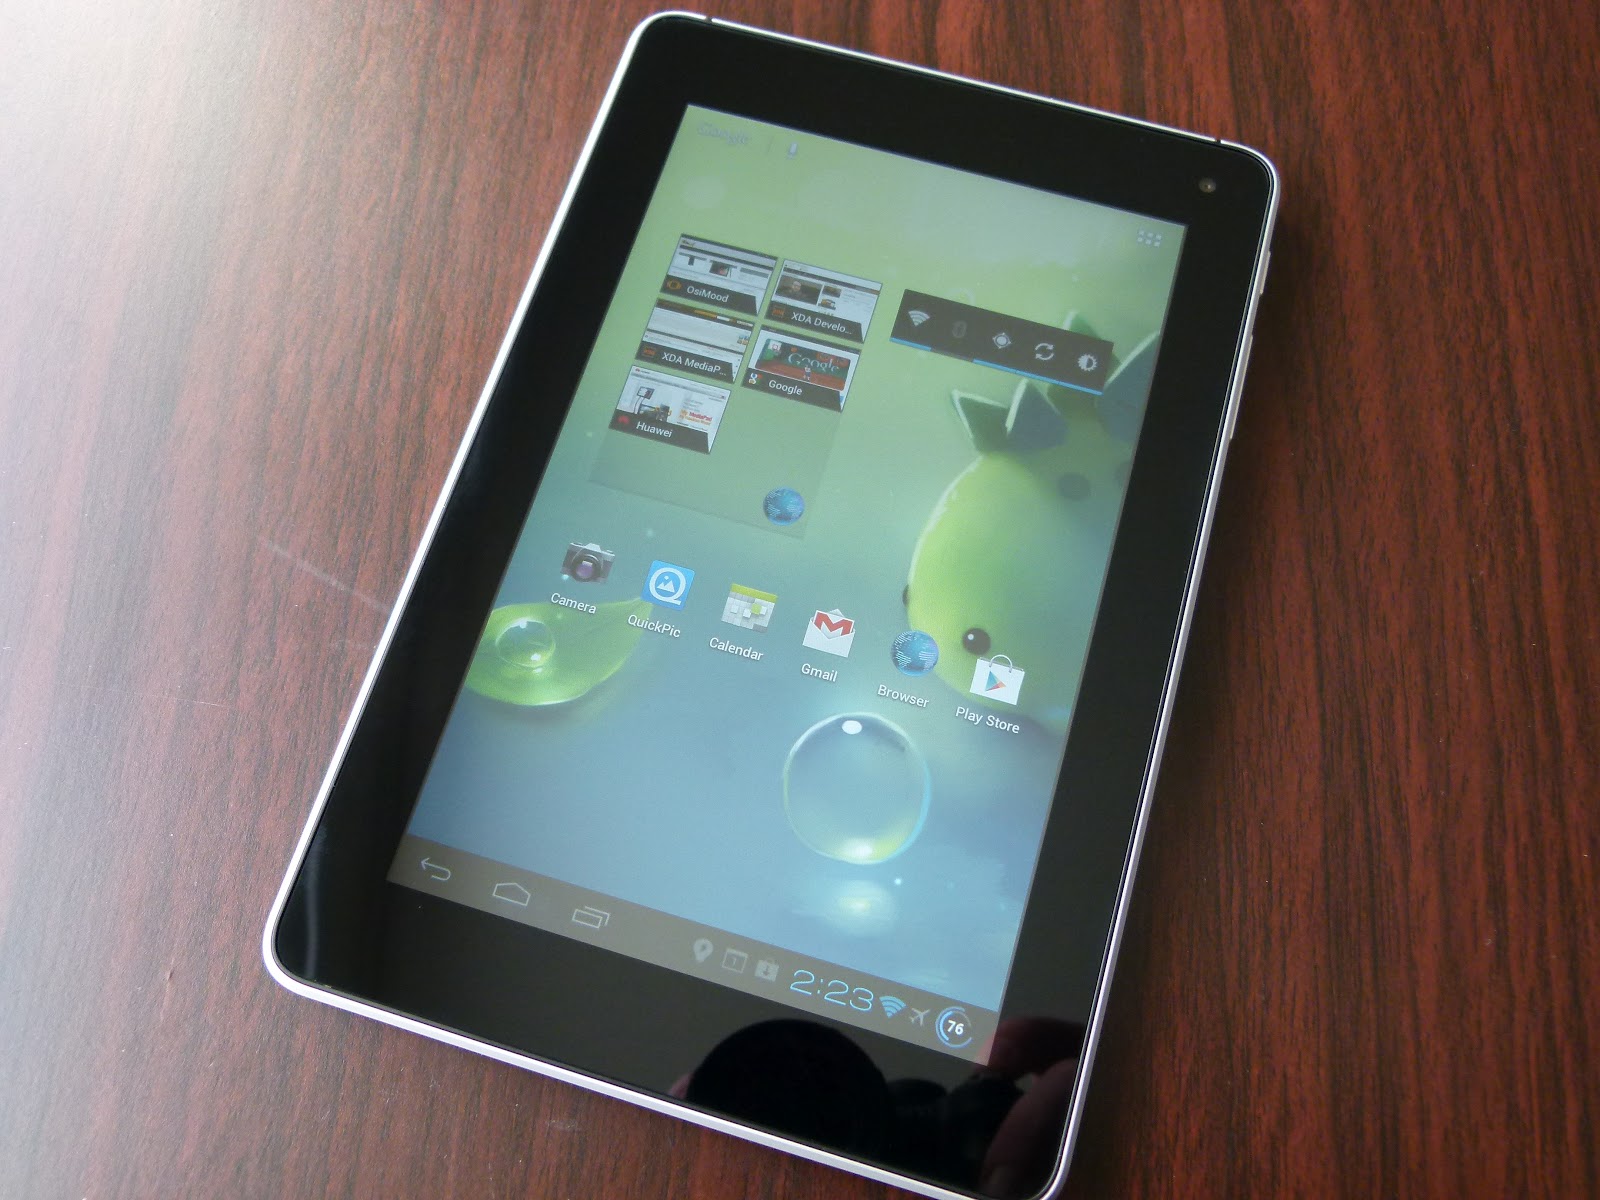
How to Root the Padfone Infinity [How to]

Possibly the easiest Root method ever.

It's a little bit grandiose calling this a guide really, because to Root your Padfone Infinity all you need do is download and install this app, and then select the 'Gandalf' exploit. Viola! Your Padfone Infinity is Rooted. I had to try the app a couple of times before it gave me the success message, so don't be disheartened if it doesn't take first time.

Big thanks to alephzain from XDA-Developers for this exploit, his original thread is here.

Be sure and donate to him to show your appreciation.

[UPDATE] Immediately after obtaining Root I was notified of a brand new firmware update for the Padfone Infinity, just wanted to let you know that OTA Rootkeeper from the Play Store will allow you to backup and then restore Root after applying the update. Oh, and the update isn't 4.2, in case you were wondering.

[UPDATE] It seems Padfone Infinities bearing the CHT product code cannot be Rooted using this method. The only suggestion I have seen so far to address this is to download a TW product code firmware and flash it to the device, although information on how to flash it is scanty at present. More to come on this when I have more information to share.


If you haven't yet got your Padfone Infinity, Mobicity has them in stock right now and you can grab yours here.


Monday, 22 October 2012

[At Your Own Risk] How to disable Fast Dormancy on the Galaxy S III and Galaxy Note II

UPDATE October 2012 - Confirmed working with the Galaxy Note II N7100 as well!

Now easier than ever before!

Welcome to the guide to disabling Fast Dormancy on the Samsung Galaxy SIII (And Galaxy Note II).

Naturally as this one comes with the [At Your Own Risk] moniker, Root privileges are required. If you haven't Rooted your Galaxy SIII yet, it's super-easy, and we even have a wonderfully easy to follow guide right here (Or for the Note II, you're going to want to hit up our friend Chainfire's Auto-Root in this XDA thread). Before you do that however, be sure to familiarise yourself with our standard weasel-words disclaimer at the beginning of this piece. If you can't be bothered reading the disclaimer, and want to foolishly plow into things without understanding what you're up to, be aware that our disclaimer is fairly dire, and we mean every word of it (even the bit about pointing and laughing at you, Nelson styles). That said we don't publish any guides requiring Root privileges here at AndroidNZ that we haven't personally road tested, so there is that.

If you happen to be making your first steps in the world of Rooting, modding, hacking and generally making your Android device truly yours, you should probably also check out our guide to backing up your shiny toy before getting any further.

Anyways, make the jump and join us after the break where we explore what Fast Dormancy is, why you might want to disable it and a full-on guide on how to do just that on your Samsung Galaxy S3! Or Note II!

Wednesday, 12 September 2012

[At Your Own Risk] How to install Jelly Bean to your Huawei MediaPad/T-Mobile Springboard


(Bonus 'beginners guide to Fastboot' included!)

In our MediaPad Rapid Review I mentioned that I was running a near-perfect CM10 build of Jelly Bean on my MediaPad. If you're a present owner of the MediaPad/Springboard, I can imagine that may have grabbed your attention. Since we're giving sorts here at AndroidNZ, you'll find the promised guide for installing the latest flavour of Android on your MediaPad just over the break. 

Monday, 20 August 2012

[At Your Own Risk] How to Root your Huawei MediaPad or T-Mobile Springboard

The Huawei MediaPad, one of the most underrated 'Droids ever made

...and here is the second rapid-fire Root 'guide' for the day. Like the guide for the AT&T SIII this isn't really so much a guide, as a pointer to where to find the Root method, because the method itself is so simple. In fact, I can safely say the MediaPad is the easiest to Root Android device I've ever used. So, if you own a MediaPad, and the thought of Rooting your Android device has always seemed tempting, but just too scary and difficult to try, then this might be just the thing you need to get your first taste.

For reference the T-Mobile Springboard is to all intents and purposes the same device, this guide will also work just as well for those of you packing the carrier-branded version of the MediaPad.

Here is what you'll need:
  • A well charged MediaPad
  • A microSD card
  • One of either of these custom ROMs - take a little look at their threads and decide which looks the best for you - Osimood or HWMod

Once you've got those together you're virtually there, just do the following:
  • Use the Huawei "AllBackup" app to back up your apps and data to the external SD card, since installing the Rooted-ROM will wipe your device (if you don't have anything you particularly need to retain post-flash, or you've just unboxed your MediaPad you can just skip this step)
  • Extract the zip file the ROM came in, you'll find a folder called "dload" 
  • Copy that folder to the root directory of the SD card, insert the card into the MediaPad's card slot
  • Restart the MediaPad and follow the onscreen instructions to install the ROM (Note:  If the update doesn't start automatically at restart, then restart again and additionally press and hold the Volume+ button)
  • When it is finished it will prompt you to remove the SD card or press the power button to exit the update utility and reboot the device - use the remove SD card option (everytime I've been in set-up, even including when it came fresh out of the box, it has crashed during set-up, and if the card is still in that will cause it to re-do the ROM install)
  • While the SD card is removed delete the dload folder before putting it back in the device, that way if you do happen to get a random restart on your MediaPad you don't re-flash the ROM and wipe everything again (!)

Congrats, your MediaPad is Rooted.

Yes, it really was that simple.

Honestly, you're finished. All done here.

Are you still here? 

Well, in that case let me recommend installing this custom kernel, which lets you do two great things for your MediaPad. Firstly, it allows you to overclock the MediaPad CPU cores to 1.5GHz, which gives performance a really nice bump (Sensation users, on the same SoC the MediaPad possesses, have demonstrated this is a very safe long term clock speed). It also fixes the difficult touch screen sensitivity of the MediaPad on its stock kernel, probably the most vexing fault on an otherwise excellent Android tablet.

[Notes: There is a more up to date version of the boot.img file out there, but it'll be a couple of days before I can get a download link for it - this version is perfectly functional though. Secondly here is the original thread at XDA, just be aware that the dev has now narrowed the kernels focus to CM9/AOSP builds for the MediaPad, so you shouldn't try and flash the downloads currently in the thread]

To install the kernel you're going to need to be able to use Fastboot, but that's a matter for another guide on another day (and hopefully another editor, if I can twist his arm hard enough). If you want to widen your Android-horizons in the meantime, why not make a start on some reading about Fastboot here, and here. You might even feel empowered enough to try it on your own!

[At Your Own Risk] How to Root your Samsung Galaxy S III (AT&T, US T-Mobile, US Sprint, US Cellular, Rogers, Bell, or Telus versions)

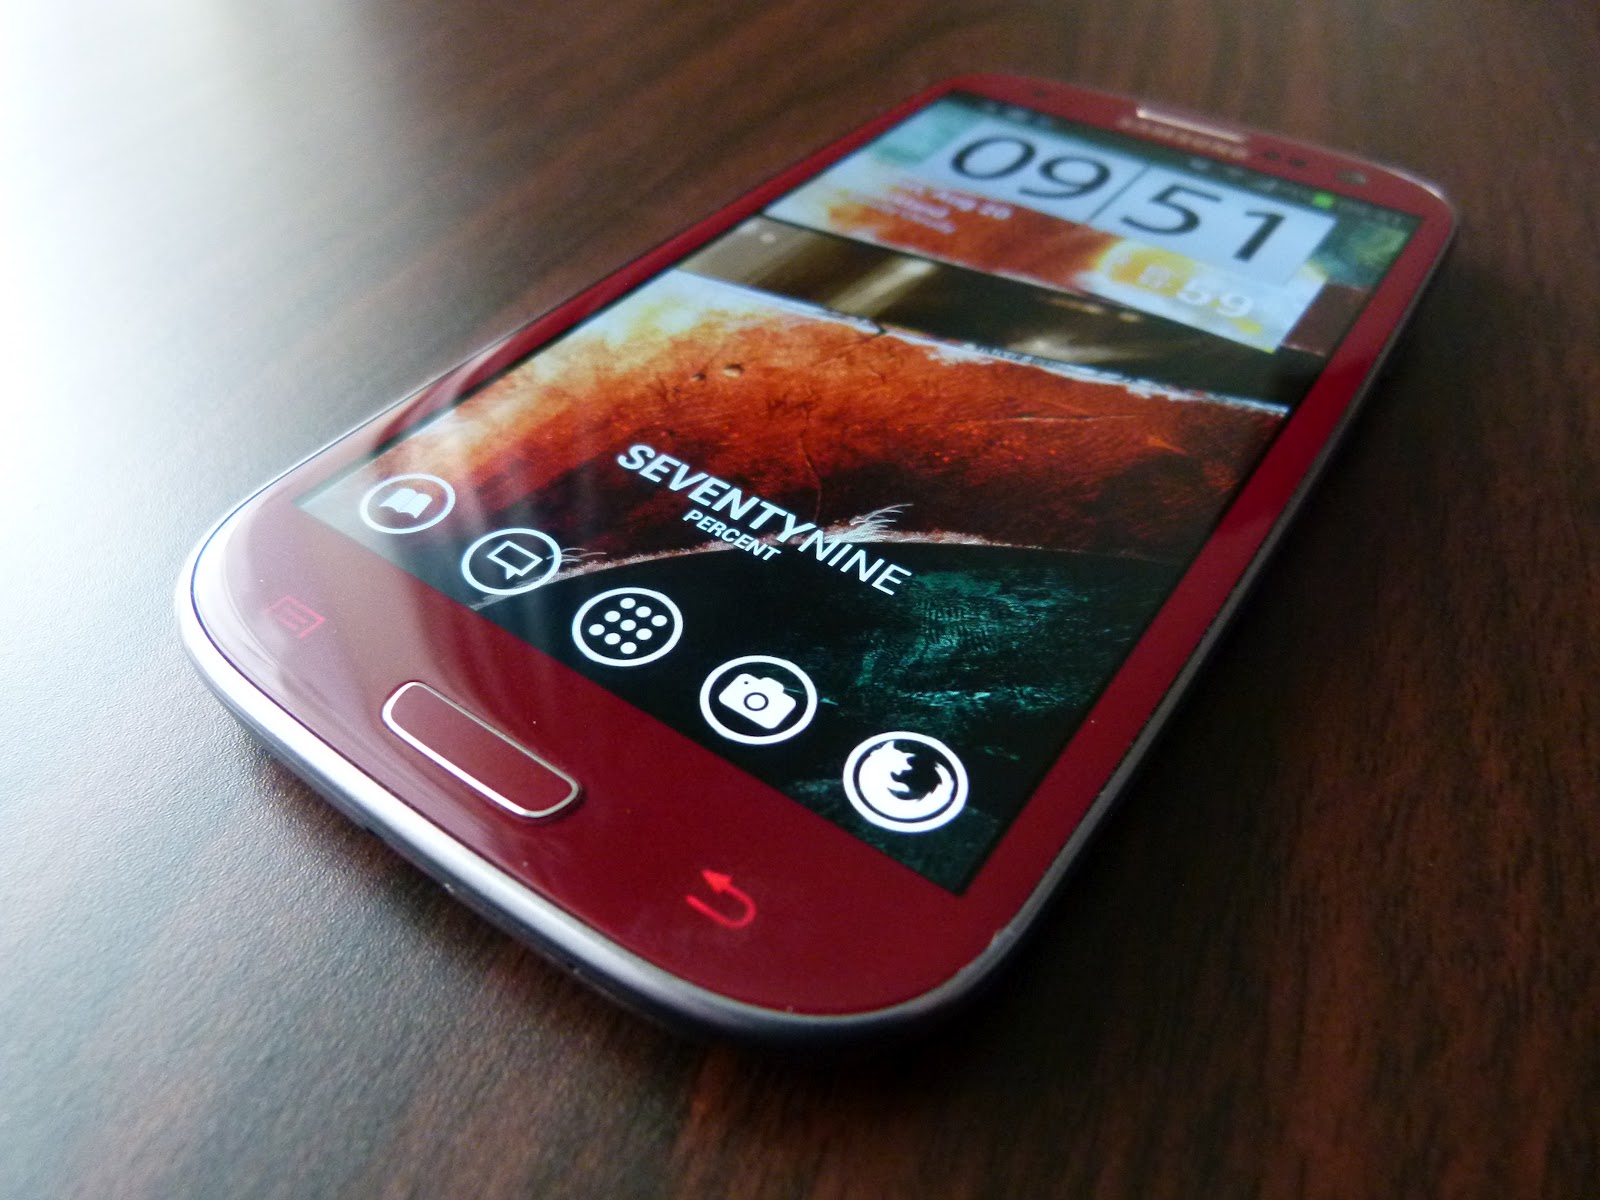
Introducing the blogs AT&T Garnet Red Galaxy SIII

This is the first of two rapid-fire Root guides we're going to push out today at the blog (the second being a brief guide for the Huawei MediaPad). I say brief because the methods for each device are so simple there really isn't much point in labouring a guide, we're just basically alerting you to the method that worked for us, since you may recall that you will never, ever, see a guide here at the blog that we haven't personally road-tested.

So, how did I come to have a US-variant SIII here in NZ?

Well, recently I had the opportunity (excuse?) to get my hands on one of the Garnet Red AT&T SIIIs, so I jumped at the chance to satisfy my gnawing curiosity about the how the S4-Krait based SIIIs would stand up to their international brethren (don't worry, a post about that is coming soon to help guide those of you in a position to choose between them). All of which is really only said to verify that I actually have one, and have personally used the Root method linked to below.

Before you rush to click the link to the Root method, you should familiarise yourself with our usual disclaimers at the beginning of this post. I say this not because we don't care if you have problems, it's just that our capacity to trouble shoot is limited, and you shouldn't have embarked on an adventure to Root your device unless you did your due diligence first and had some understanding of what you were up to. While we're in disclaimer mode. I should also be very clear that I only have an AT&T SIII, and have not tested the other models supported by this Root method (I see a number of Rogers users have used it without issues).

What you'll need to do is head to this thread at XDA, and download a Root Toolkit (or grab it here, or here). Simply install it and follow the very straightforward onscreen instructions, and you'll be Rooted in only a matter of minutes. For simplicities sake I'd recommend using the "allinone" option, which will also install CWM recovery and Busybox to your device.

Once you're done it is obviously advisable to head to the backup section of the Toolkit and make both Nandroid and EFS backups (you can even send those backups to your PC from within the Toolkit, just in case some mischief were to afflict your on-device storage, nice). If you have any issues with making a Nandroid backup from the Toolkit itself, simply boot into recovery and do it from there.

Lastly, you'll want to reset the flash counter (in case you're going to need to return to stock via Odin for warranty purposes). For that you just need to grab Triangle Away from Chainfire. Simples.

Finally, all that is left to do is make a donation to mskip, the developer of the Toolkit, and make a suitably gushing thank you post to his thread.

Monday, 23 July 2012

How to Root your Nexus 7

It's been with us since last Thursday.... Of course it was Rooted day one!

UPDATE 22/7/12 - Official ClockworkMod Recovery available, read on for details

It seems that the Nexus 7 will be arriving to peoples doorsteps at any minute, with shipping having already started on select pre-orders. Users after our own hearts here at AndroidNZ will no doubt be wondering how they can Root the device as soon as it comes out of the box, and like usual we're here to tell you how to do it. Make to jump to see how to makes your Nexus 7 truly yours...

Monday, 16 July 2012

[At Your Own Risk] ROM Release: AndroidME v1.2 Galaxy Nexus GSM


Hi everyone!

This is pretty exciting day here at AndroidNZ, not just because we've posted a great guide to Rooting your brand spanking new Nexus 7, and will be posting the first part of our "real-user" review later tonight, but also because we're able to announce that we'll now be hosting some custom ROM goodness right here at the blog. If you've been living under a rock it may have escaped your notice that a talented ROM developer joined our writing crew a little while back - none other than CdTDroid of AndroidME ROM fame! [Sorry Chris, I know you'll be squirming at being praised publically like that when you get to reading it, but your many fans will back me up here - Ed]. Anyways, without interfering with his ROM post any longer, make the jump to grab yourself AndroidMe v1.1 for your Galaxy Nexus!

Monday, 9 July 2012

[At Your Own Risk] How to play Dead Trigger with ALL Tegra 3 graphics on your Galaxy SII, Note, Nexus, or SIII (Bonus Dead Trigger Sixaxis profile!)

Screenshot from Dead Trigger taken from my SIII, but where did those 'Tegra 3 exclusive'
water effects come from? Read on, you know you want to know how...

We're always up for providing a quick how-to here at AndroidNZ, particularly when it lets us work around artificial restrictions placed on our devices. Naturally in this instance I'm talking about those Tegra-3 'exclusive' graphical extras that we're meant to miss out on in Madfingergames latest zombie frag-fest Dead Trigger, despite having perfectly capable hardware.

If you read part two of our Galaxy SIII review you'll know exactly how I feel about Tegra-exclusivity, and you'll also be aware that even with Root and Chainfire 3D, Tegra-3 versions of titles aren't working with our Galaxy SIIIs (and if you haven't read the review piece you'd better make a start, part two is nearly 9,000 words long and you want to finish it before the next part goes live, right?!).

Or at least, that's how things were when I wrote that part of the review.

You see, as of now we can avail ourselves of those lovely Tegra-3 graphics in Dead Trigger. I wish I could report that this was via an update to Chainfire 3D, as that might give hope of unlocking those other Tegra-3 exclusives for us, but sadly the news isn't quite that good. Nevertheless, it is still quite good news, since apart from actually working, the method for enabling the extra graphical touches in Dead Trigger is, well, dead-simple (many thanks to SnakeHaveYou at XDA for bringing this to light for us).

In fact, it's so simple that there isn't really much to the guide that follows at all. That being the case I thought I had better add a sweetener, and this time it's a Sixaxis Controller Touch Emulation profile for you to download...

Oh, and if you saw the [At Your Risk] moniker and wondered what risks might be involved here, you can exhale now - the worst you can do is wipe your present game progress (and even then only if you're a muppet).

Read on!

Tuesday, 19 June 2012

[At Your Own Risk] Galaxy SIII video demo & guide for how to play NOVA 3 with a wireless PS3 controller

So, as promised here is that little video demonstration and guide for how to play NOVA 3 (or almost any game that doesn't natively support gamepads, for that matter) with a PS3 controller over bluetooth.

Naturally as this one comes with the [At Your Own Risk] moniker, Root privileges are required. If you haven't Rooted your Galaxy SIII yet, it's super-easy, and we even have a wonderfully easy to follow guide right here. Before you do that however, be sure to familiarise yourself with our standard weasel-words disclaimer at the beginning of this piece. If you can't be bothered reading the disclaimer, and want to foolishly plow into things without understanding what you're up to, be aware that our disclaimer is fairly dire, and we mean every word of it (even the bit about pointing and laughing at you, Nelson styles). That said we don't publish any guides requiring Root privileges here at AndroidNZ that we haven't personally road tested, so there is that.

If you happen to be making your first steps in the world of Rooting, modding, hacking and generally making your Android device truly yours, you should probably also check out our guide to backing up your shiny toy before getting any further.

Anyways, make the jump and join us after the break where we have the video demo and guide, and also a download link for the Sixaxis Controller touch emulation profile that I use in the video to put directly on your device if it all seems a bit much.

Sunday, 19 February 2012

[IMPORTANT UPDATE - DO NOT UPGRADE TO ICS - RISK OF HARDBRICK] Samsung Galaxy Note: ICS installation guide, detailed impressions with video walkthrough [At Your Own Risk]


Up until a few days ago I was really beginning to worry that Samsung wasn't on track with it's release schedule for bringing ICS to the Galaxy Note. I'd been watching leaked ICS ROMs come to the Galaxy S II with an alarming frequency for weeks and weeks, but nothing for the Note. Given Samsung seem to be as leaky as a sieve when it comes to keeping their firmwares in-house, this just made me think the Note might have been getting a bit neglected. Fortunately those fears have proven unfounded, as an ICS build for the Note leaked a couple of days ago. Naturally I flashed it ASAP, I mean, what's a self-respecting Android geek to do?

The video above is a walkthrough through some of the highlights and lowlights of this early build [Spoiler alert: it's nearly all highlights]. After the break I throw down a few more thoughts, and, possibly more importantly, lay out how you can flash this onto your own Note.

...and trust me, you'll want to.

Friday, 11 November 2011

[At Your Own Risk] How to Root your Galaxy Note

[UPDATED GUIDE 11/11/2011]

You know one thing I really love about Samsung Android devices? They never really lock the bootloaders. Why do I love that? Because Root usually comes very soon after release of the device, or in the case of the Note pretty much at release. 


I just got my Galaxy Note, so naturally the first thing I wanted to do to my my brand new handset was invalidate it's minty-fresh warranty.

Now that I've done that, and can live up to our guarantee that we only do guides for things we've done to our own devices, here are the spoils for you: a guide on how to violate the conditions of your minty-fresh warranty Root your Galaxy Note.

...also we also have video guides to supplement these written ones on our YouTube channel!

Tuesday, 8 November 2011

[At Your Own Risk] Get the Roboto font on your Rooted Galaxy Note

If you're waiting for my next Galaxy Note review instalment I'm afraid this post will disappoint you; this is not the post you're looking for. Don't worry though, those posts are coming very soon!

This post is for people who have, or will have, the Galaxy Note - a brief guide for how to get the Roboto font from Ice Cream Sandwich on your Note right now. If you missed out on the press surrounding the Roboto font, it's the default font in the upcoming iteration of the Android OS, and it's something a little bit special. You see, the typeface for Roboto has been specially designed with high density, high resolution screens in mind. It promises to give you the best text reading experience on your HD screen, which of course makes it a must on the 5.3 inches of gorgeous Super AMOLED HD found in the Note.

Hit us up after the break to see how simple it is to get this running on your Note.

Saturday, 29 October 2011

[UPDATED GUIDE] New Superuser version breaks Chainfire 3D - guide updated to show you how to fix it!

Trust me, you want this on your Android handset


So a few of you may have noticed a certain "Tegra-only" game release on the Market in the last few days - the utterly epic Shadowgun. If you're like me your first thought would have been "I wonder if I can play that on my non-Tegra device with Chainfire 3D?" If you tried to get it you may have run into a problem Chainfire 3D appears to have completely stopped working. Motivated by the need to get it working again, so I could enjoy me some Shadowgun on my Galaxy S II, I spent some time troubleshooting the problem today. I can happily report that I seem to have cracked the problem, and another editor has verified my fix works (he is currently missing, presumed fragging mutants in Shadowgun on his SGSII).

If Chainfire 3D is no longer working, or possibly never worked for you, read on to find the solution!

[Hint: head to the bottom of the guide if you only need the Superuser fix]

Monday, 24 October 2011

[At your own risk] How to get ICS bar buttons on the ASUS eee Pad Transformer

Pre-requisites:
  • Rooted device
  • CWM recovery
  • External storage (Micro SD card)
More and more ICS "stuff" is becoming available, and today I found the guys (and girls) at XDA had found a way to get ICS bar buttons on the ASUS eee Pad Transformer. Reportedly for every 3.x iteration of Honeycomb.

The following image might be what you have right now, depending on whether you've reverted to the Xoom buttons or have a different ROM:

So what's involved you ask? Follow along for the instructions, it's fairly easy and painless.

Saturday, 22 October 2011

[At your own risk] How to get Gmail for ICS on your Honeycomb device

If you saw our coverage of the Galaxy Nexus with Ice Cream Sandwich, Android 4.0 and you were wondering how you can get that fancy new Gmail app on your Honeycomb tablet, you've come to the right place.


Thanks to some folks over at XDA you can now get the brand spanking new Gmail app which allows you to swipe between emails as well as sync up to 30 days of emails to make it available for searching offline.

If you want to install this bad boy on your tablet then keep reading.

Friday, 21 October 2011

Swype updates to 3.26 – and [How To] get it on your Galaxy S II

Ah, Swype. Some swear by it, others hate it with a passion. It’s been in the news lately, what with being acquired by Nuance for over 100 million US dollars and all  and today the beta program made the jump to version 3.26. If a run-down of new features and a how-to for the you-too sound like your bag, read on after the jump.